 もぐたんJr.
2023年5月23日に 11.17.0-50Jが配信され、従来のCFW導入方法が使えなくなりました。現在、比較的簡単にCFWを導入できるのはNew3DS/New2DSのみです。
この記事では日本版の3DSのみを対象に書いています。
この世界すべては自己責任です。
本体が壊れようが、データが消えようが、BANされようが。です。それが怖いなら改造しない。ってどこでも言われてるでしょ?
このブログは対象の機材を持っている読んでわかる人向けです。
あったら便利なものだけ紹介しときます。


情報元
事前確認
3DS本体の電源を切り、
①STARTボタンを押しながら電源オン
②SELECTボタンを押しながら電源オン
これをやって、通常のホーム画面以外が表示されないことを確認してください。黒い画面が表示されたらCFW導入済みです。
必要なもの
最新版のLuma3DS

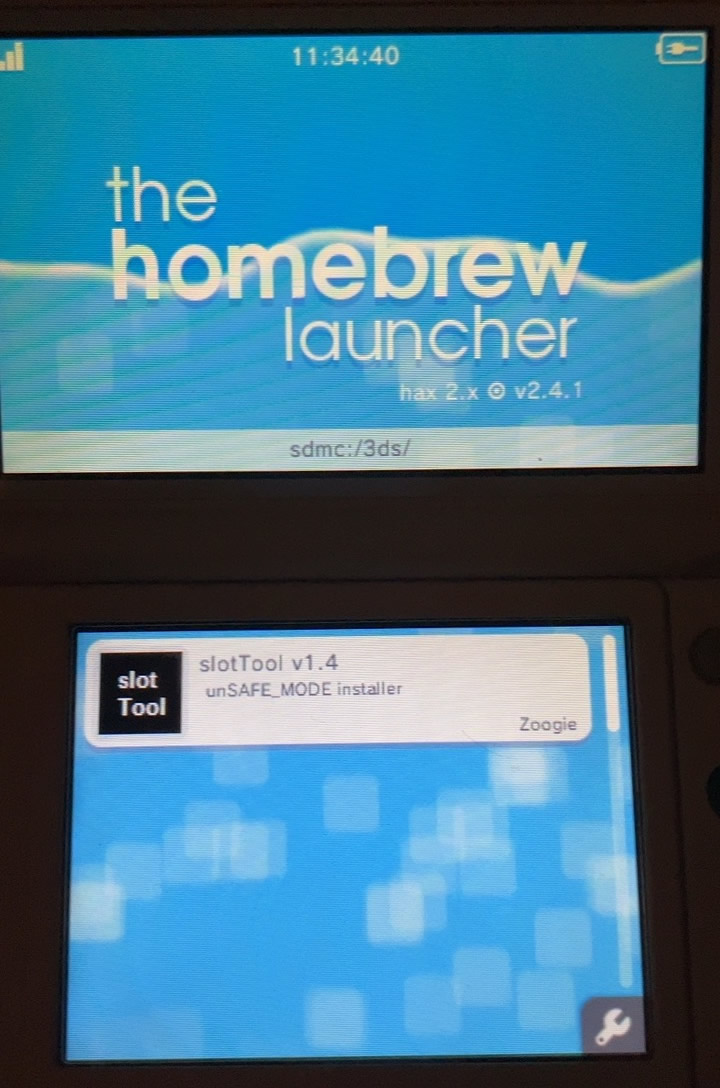
最新版のsuper-skaterhax
最新版のSafeB9SInstaller
最新版のnimdsphax
最新版のboot9strap
事前準備
- インターネットの接続設定をする
- New3DS本体の電源を切る
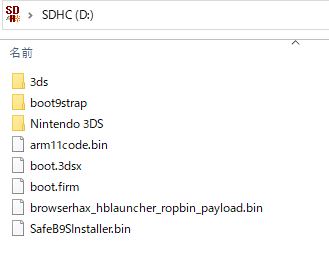
- SDカードをパソコンに挿入する/開く
- ダウンロードしたLuma3dsの圧縮ファイルを解凍し、boot.firm と boot.3dsx を SDカードのルート にコピーします
- ダウンロードしたsuper-skaterhaxの圧縮ファイルを解凍した中にある「JAPAN」フォルダの中身だけを SDカードのルート にコピーします
- SDカードのルートに「boot9strap」というフォルダを作成し、boot9strap-1.4.zipを解凍し出てきた「boot9strap.firm」「boot9strap.firm.sha」をコピーします
- SafeB9SInstaller.zipを解凍して SafeB9SInstaller.bin を SD カードのルートにコピーします。
- SDカードのルートに「3ds」というフォルダを作成し、nimdsphax.zipを解凍して出てきた「nimdsphax」フォルダをコピーします
- コピーしたらSDカードを3DSに戻します
HBLを起動
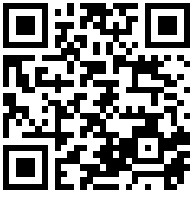
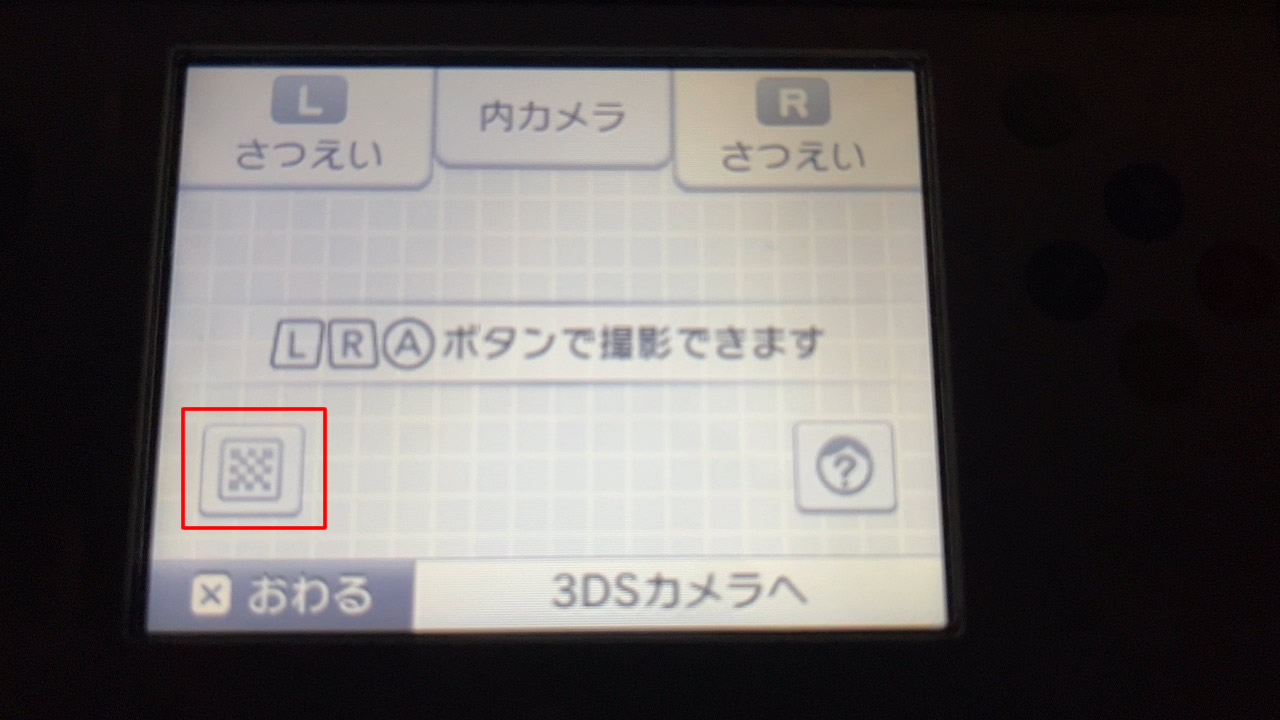
①QRコードを読み取りブラウザを起動する
3DSの電源を入れ、ホーム画面で Lボタン+Rボタン を押してカメラを起動し、QRコードを読み取る
セキュリティ証明書の警告が表示された場合は、Aボタンを押して接続を許可してください


または、3DSのブラウザを起動して https://zoogie.github.io/web/super/ ⇐URLを手入力する
この先、カメラが起動できることを前提に記事を書いています。
②開いたページをお気に入りに登録する
SELECTボタンまたは☆アイコン

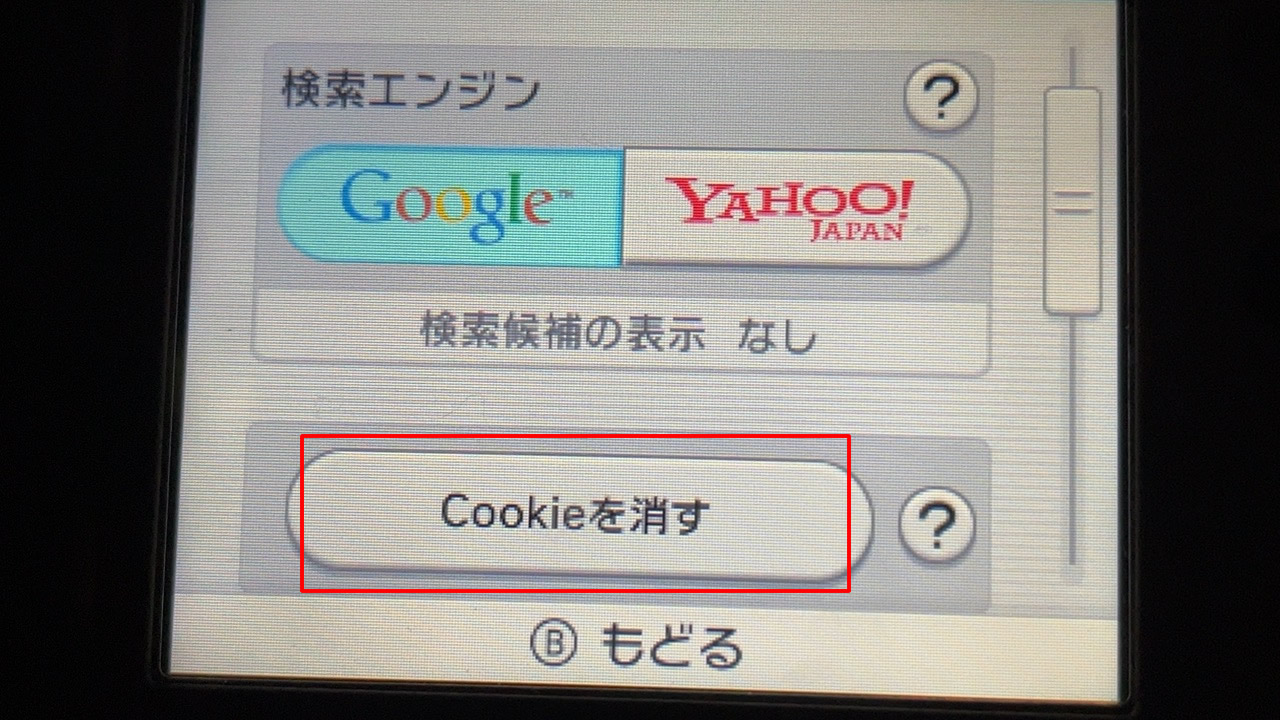
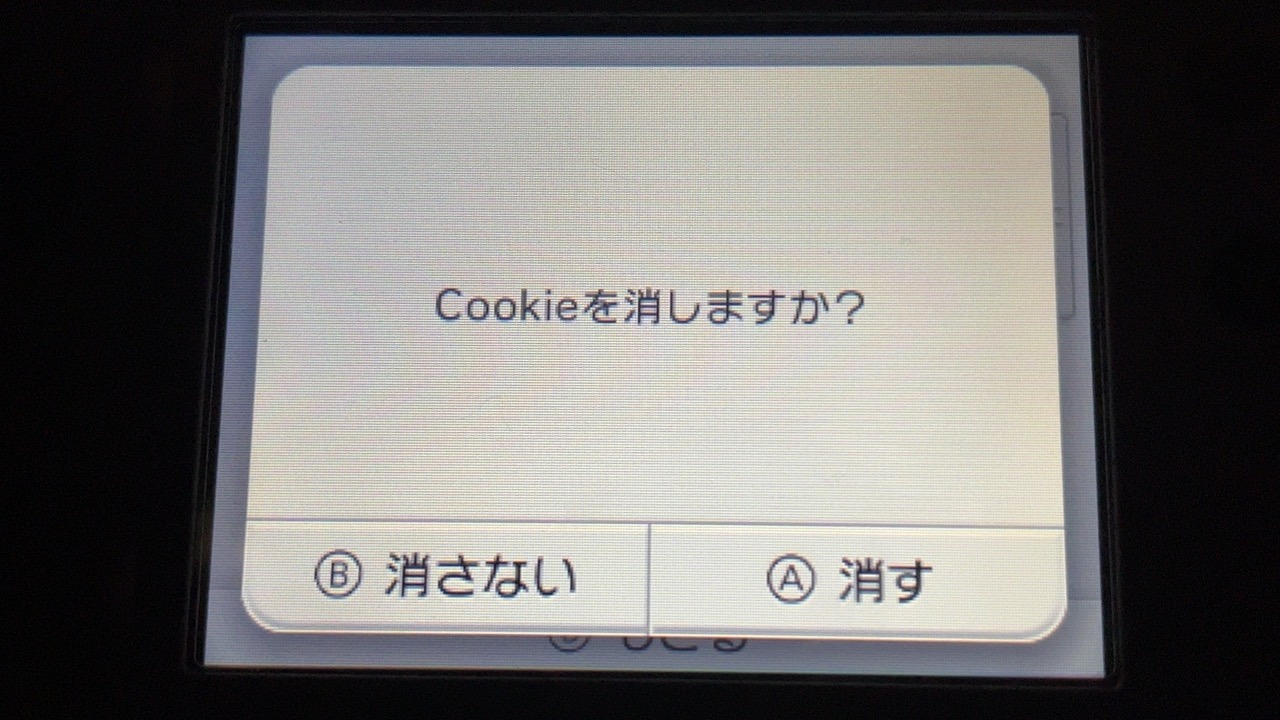
③Cookieを消す
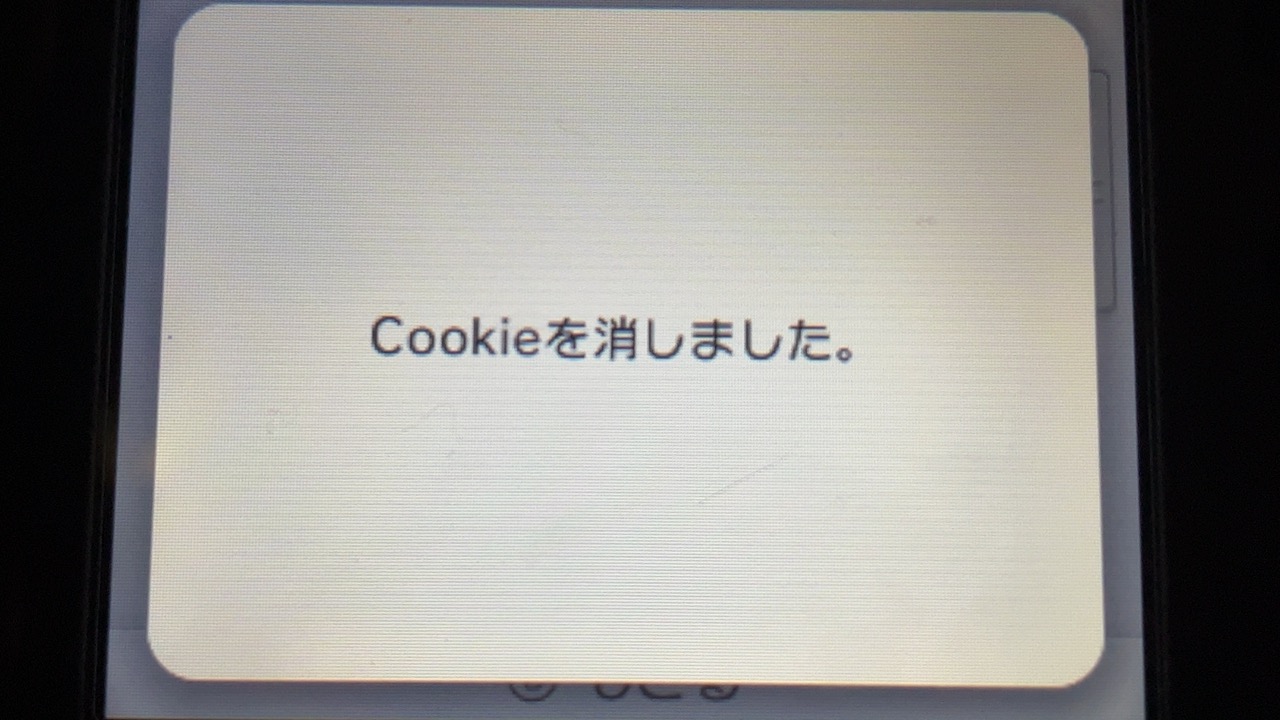
- Bボタンでブラウザに戻り、STARTボタンを押してメニューから「設定」を開く「Cookieを消す」を押して削除する。
- 削除が完了したらブラウザに戻らず、ここでホームボタン押しますが、終了せずに「はじめる」またはAボタンを押してブラウザに戻る

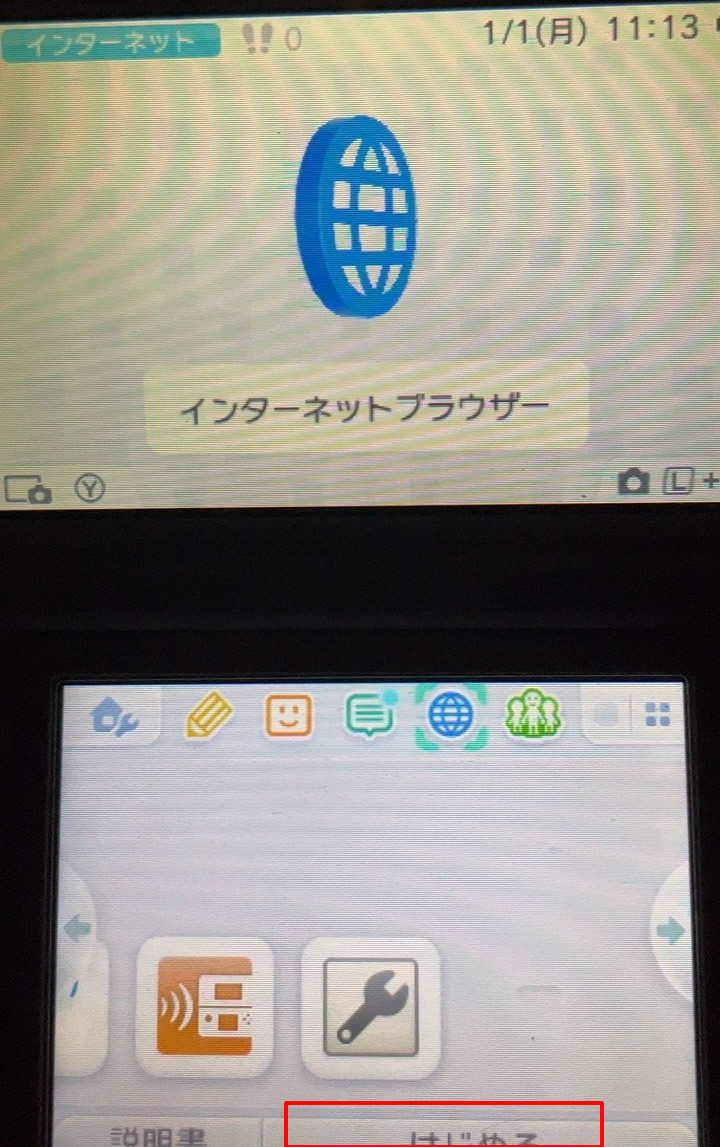
④「Go Go!」を押してHBLを起動する
お知らせ画面が表示され「OK」を押すと、下画面がピンク・黄色・緑と変わり、ブラックアウトした後にHBLが起動してきます。


HBLが起動に失敗する場合は5回ほど繰り返してみてダメなら最初からやり直してみましょう。
黄色い画面でフリーズした場合は、電源ボタンを長押しして電源を切り、ブラウザの起動から再試行してください。
赤い画面でフリーズした場合は、電源ボタンを長押しして電源を切り、お気に入り登録からやり直してください。
日付を現在日時に合わせていないと、以下のようなエラー画面が出て失敗します。
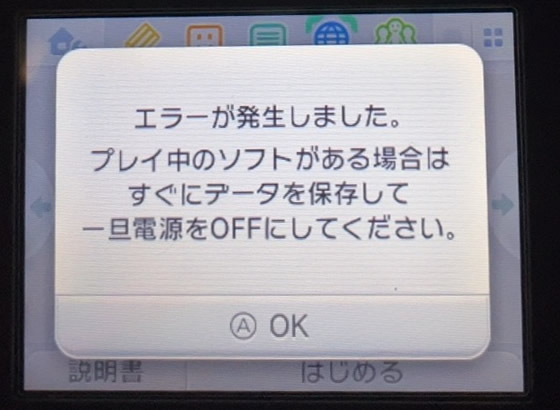
成功するとHBLが起動してきます。
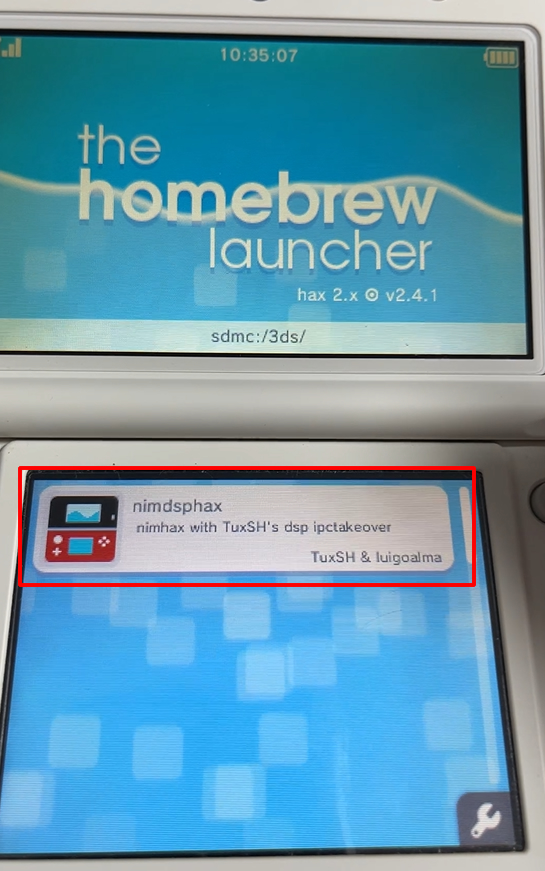 もぐたんJr.
いよいよ「nimdsphax」を実行しB9Sのインストールです。次のページに進みましょう。

コメント
コメント一覧 (2件)
記事掲載ありがとうございます。
11.17.0-50JでCFWを導入できるのはNew3DS/New2DSのみとのことですが、
New3DS LL(XL)では導入出来ないということでしょうか。
New3DSならLLでも導入できますよ。