 もぐたんJr.
さぁあともう少しです。頑張りましょう
最終設定の事前準備
フォルダ作成
- 3DSの電源を切り、SDカードをパソコンで開く
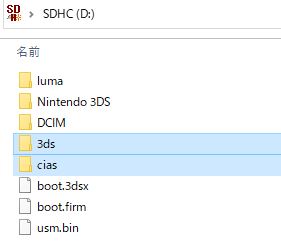
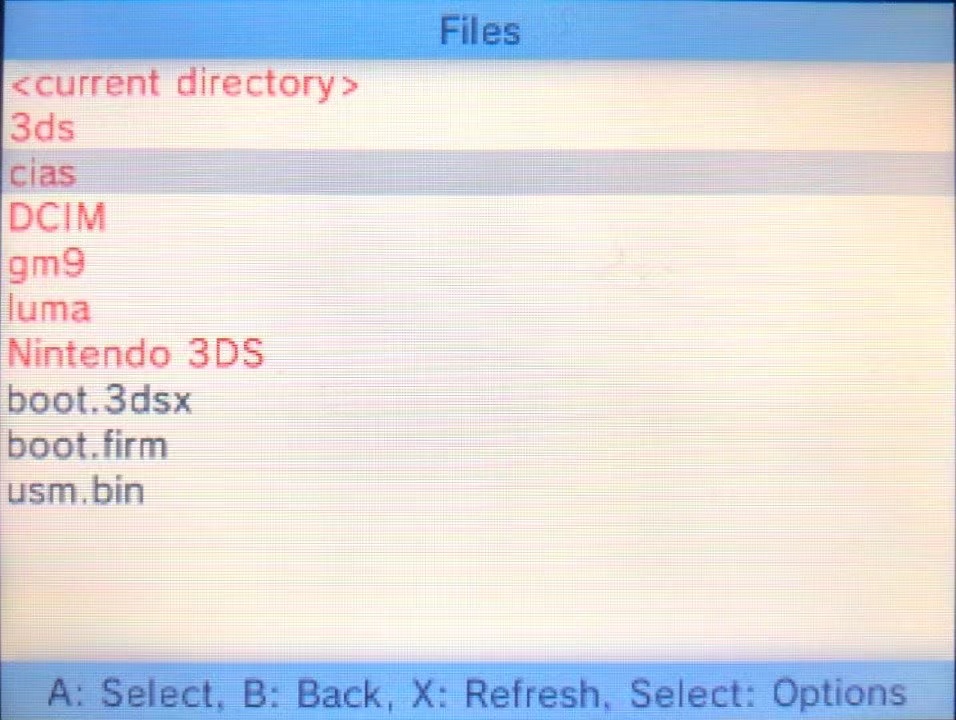
- SDカードのルートに「cias」2つのフォルダを作る
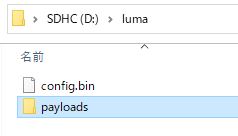
・「luma」フォルダを開き、「payloads」フォルダを作成します。
ダウンロードするもの
FBI

①上記のいづれのサイトから「FBI.3dsx」をダウンロードして、SDカードの「3ds」フォルダに入れる。
②「FBI.cia」をダウンロードして、 SDカードの「cias」フォルダに入れる。
HBL
上記Githubから「Homebrew_Launcher.cia」をダウンロードして、SDカードの「cias」フォルダに入れる。
Universal-Updater
上記Githubから「Universal-Updater.cia」をダウンロードして、SDカードの「cias」フォルダに入れる。
GodMode
①上記Githubから「GodMode9-vx.x.x-2021xxxxxxxxx.zip」をダウンロードして、解凍します。
②「GodMode9.firm」を、SDカードの「luma」→「payloads」フォルダ内に入れる。
③「gm9」フォルダをSDカードのルートに入れます。←ここの作業が漏れがちです。作成ではなくコピーまたは移動です!
ここまで作業したら、SDカードを3DSに戻して電源を入れます。
Homebrew Launcher起動
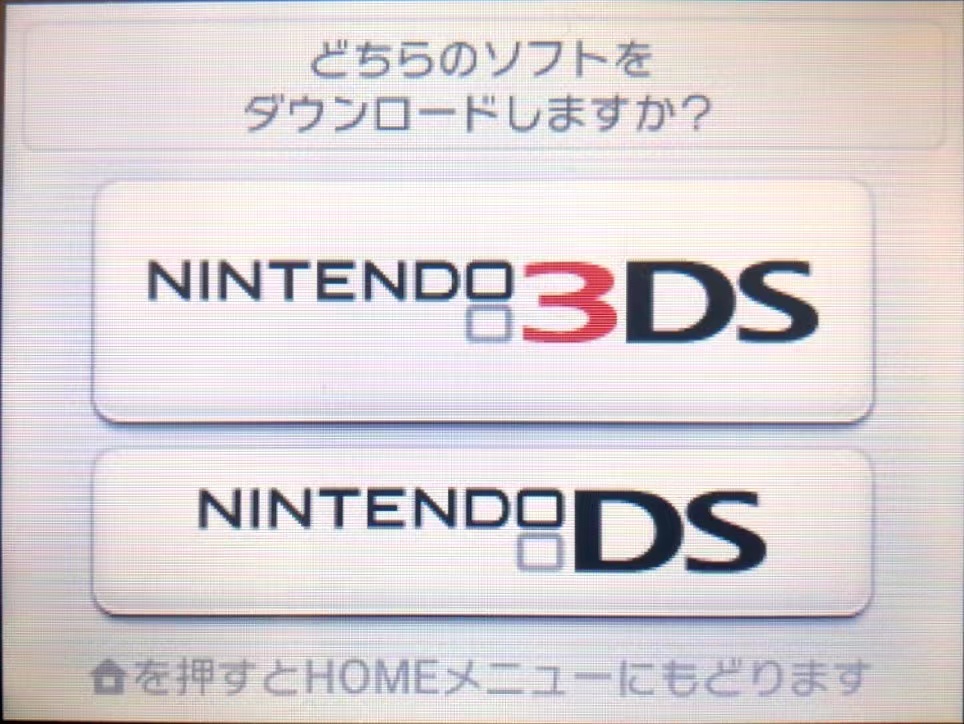
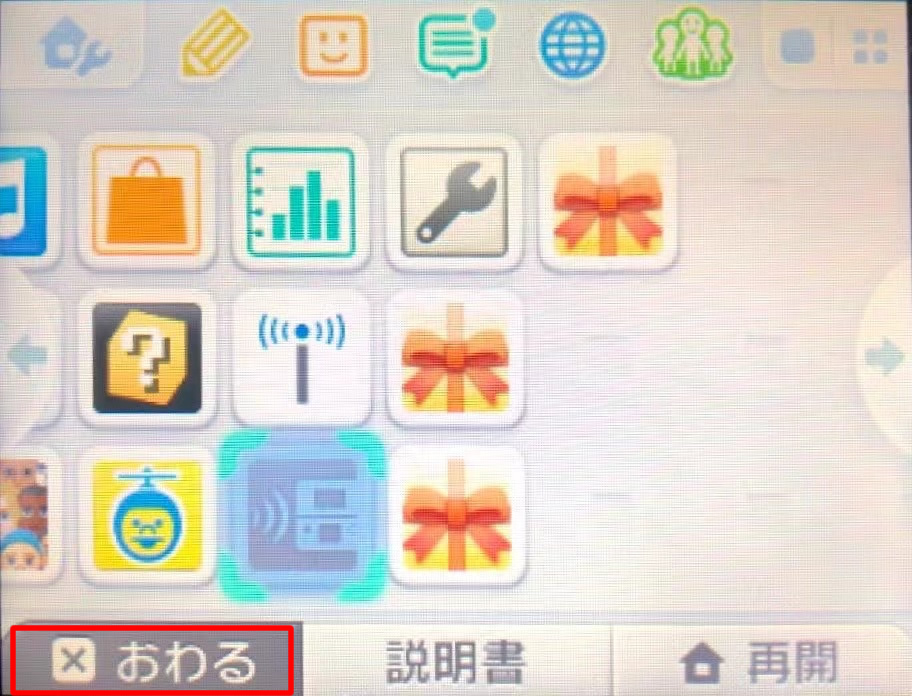
ダウンロードプレイを開きます
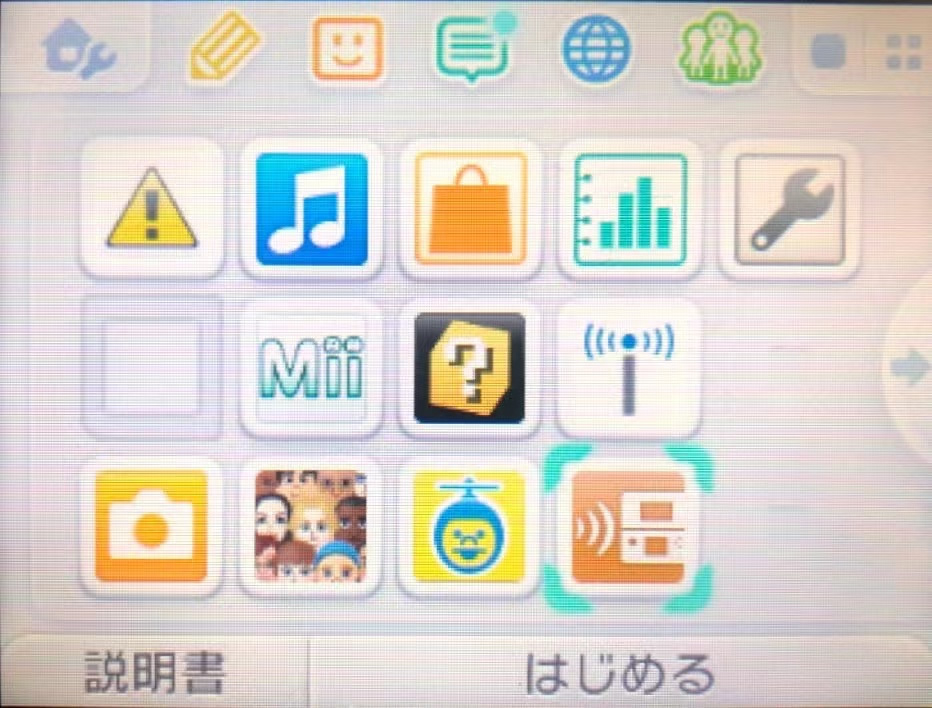
この画面が表示されるまで待ち、表示されたら「Lボタン + 十字キーの下 + SELECTボタン」を同時に押します。
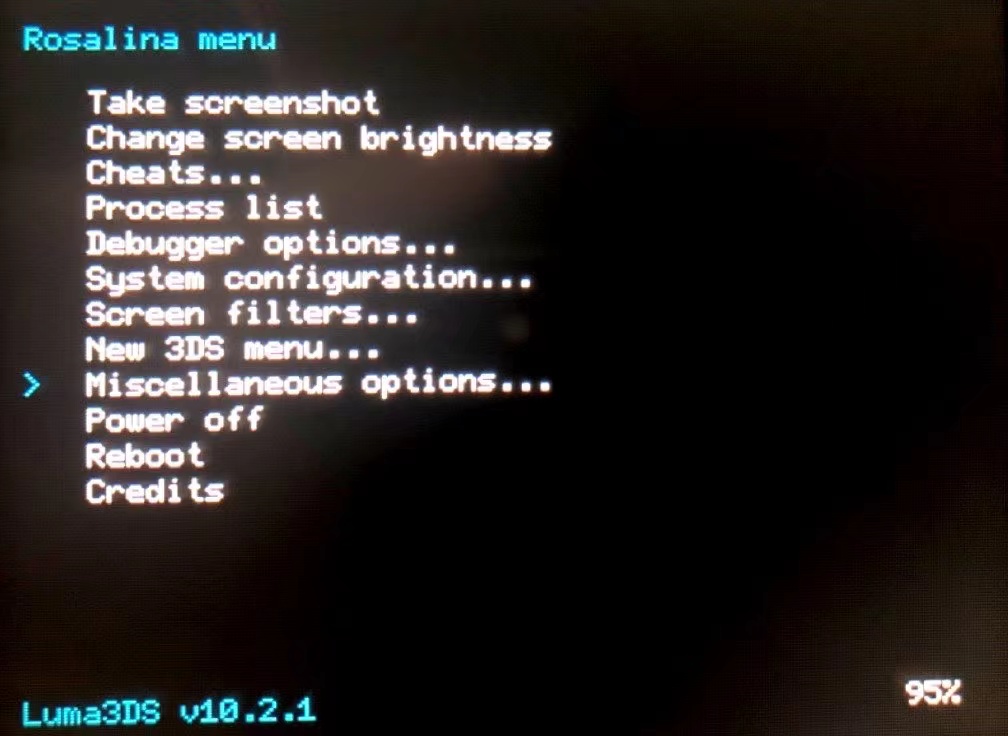
すると、Rosalina menuが開きます。ここでは「Miscellaneous options」を選択してAボタン
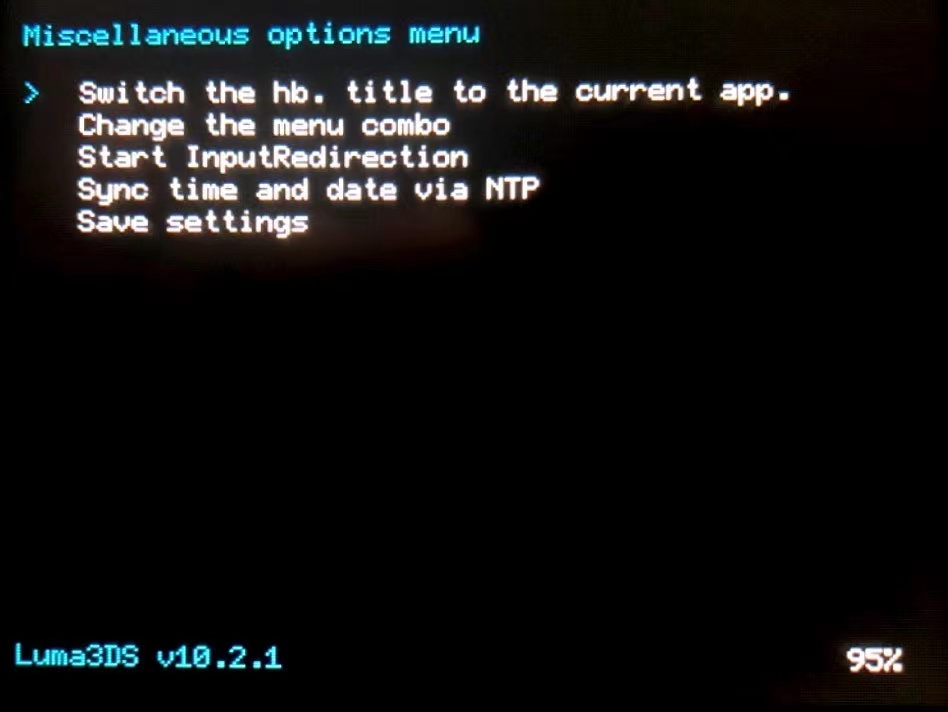
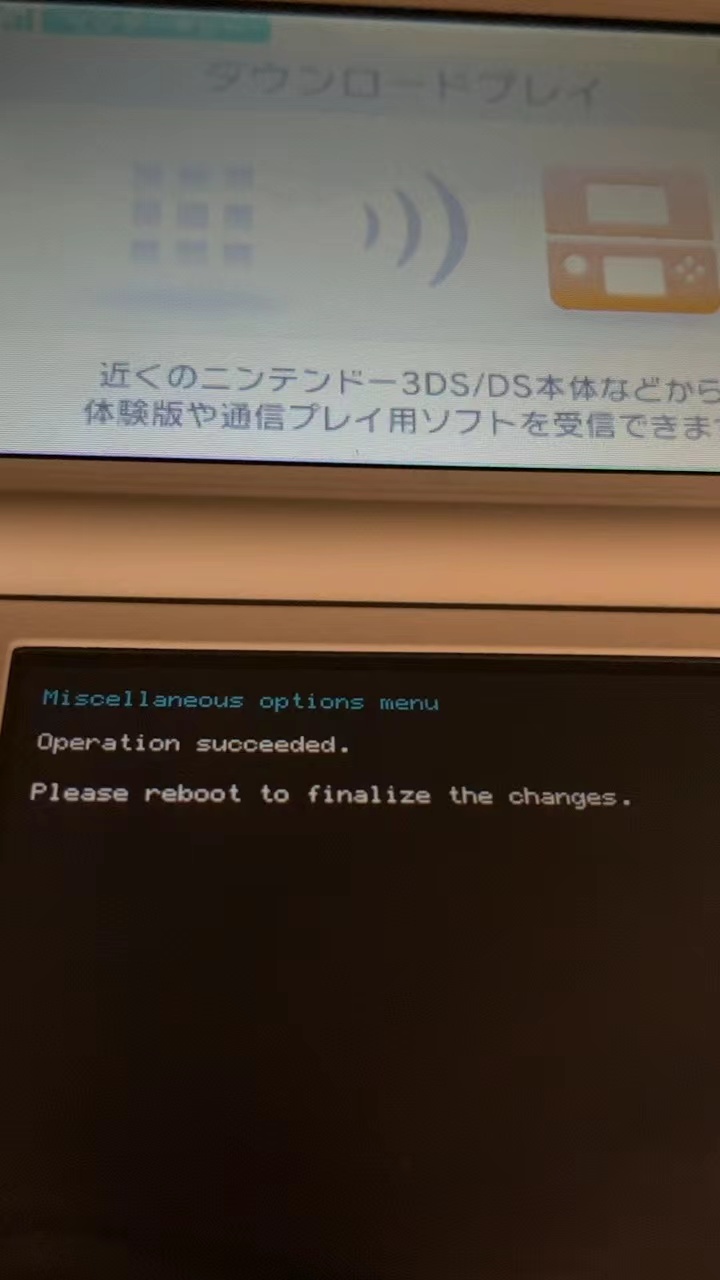
次に、「Switch the hb. title to the current app.」を選択してAボタン
以下のような画面が出たら、何度か Bボタンを押してメニューまで戻ります。

Rosalina menu まで戻ったら、再度「Miscellaneous options」を選択
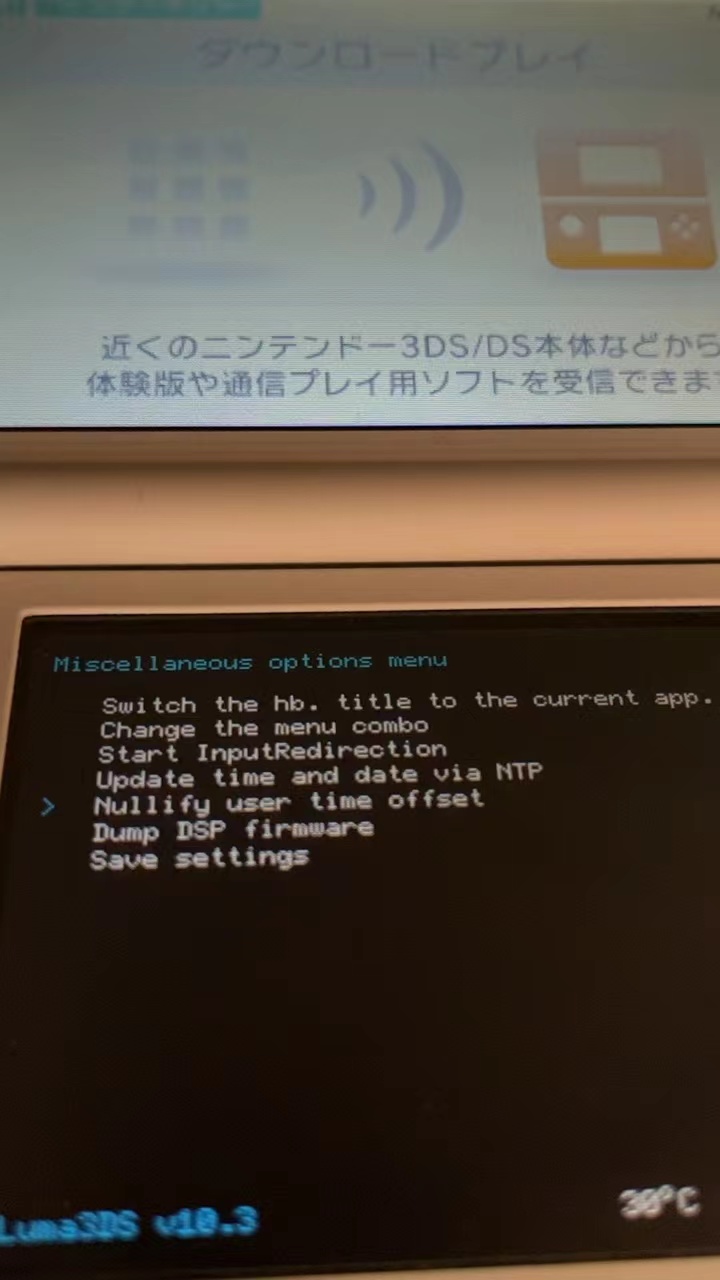
続いて「Dump DSP firmware」を選択

この画面になったらBボタンで戻る

次に、「Nullify user time offset」を選択
この画面になったらBボタンを何回か押してRosalina menuまで戻る。
ホームボタンを押してダウンロードプレイを終了させます。

終了させたら、再度ダウンロードプレイを開きます。
今度は、homebrew launcher (HBL) が開きます。
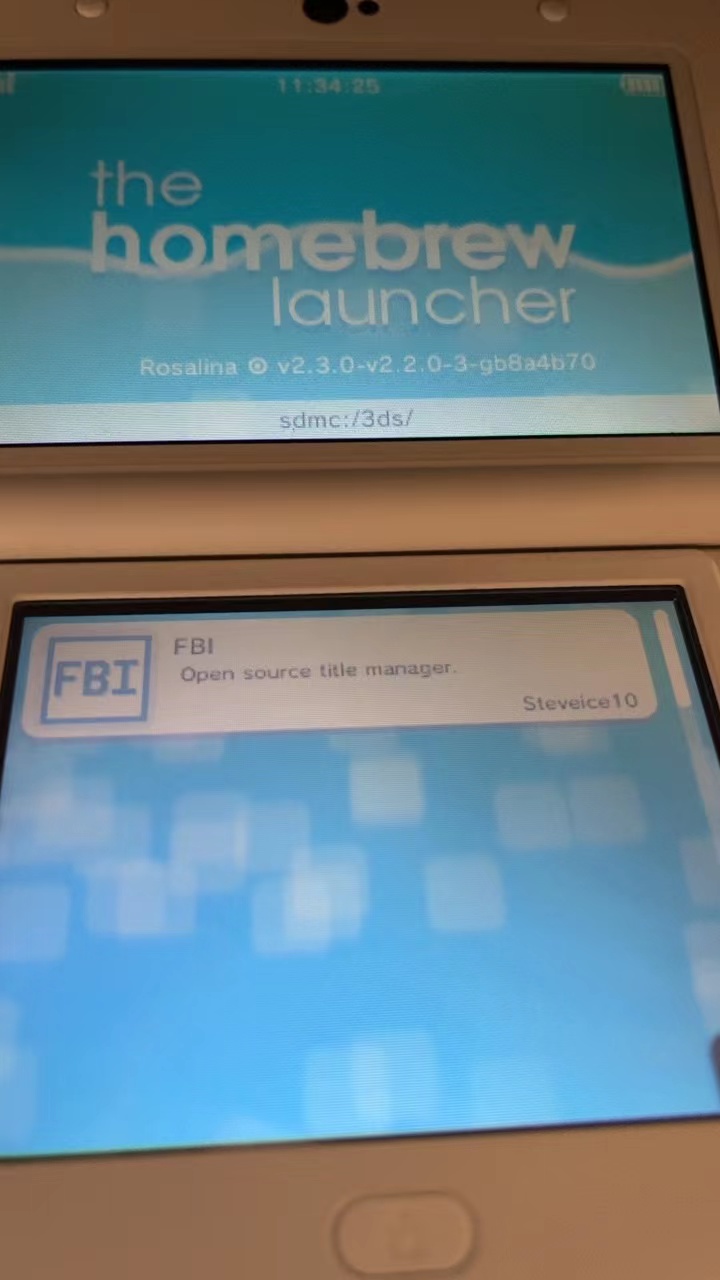
FBI
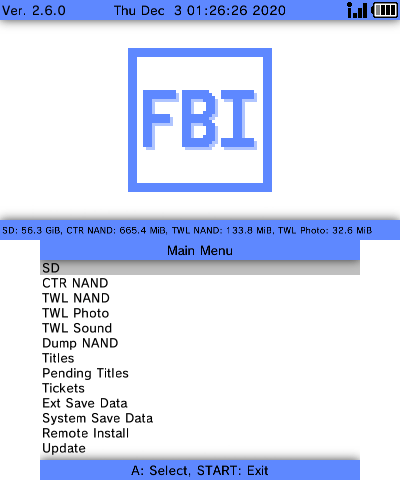
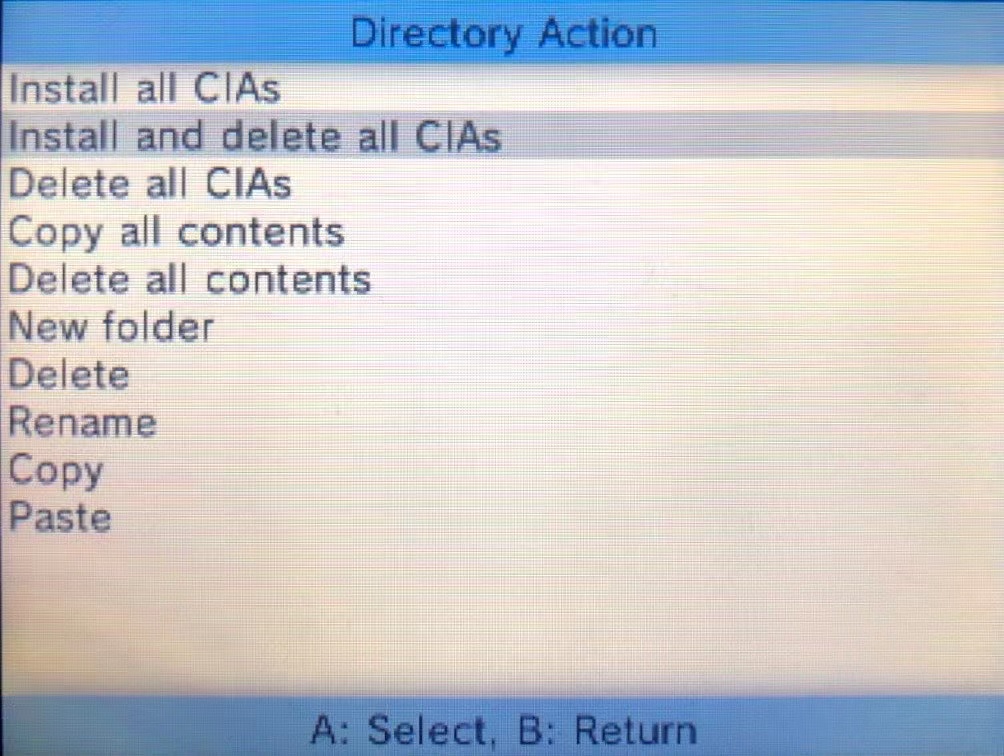
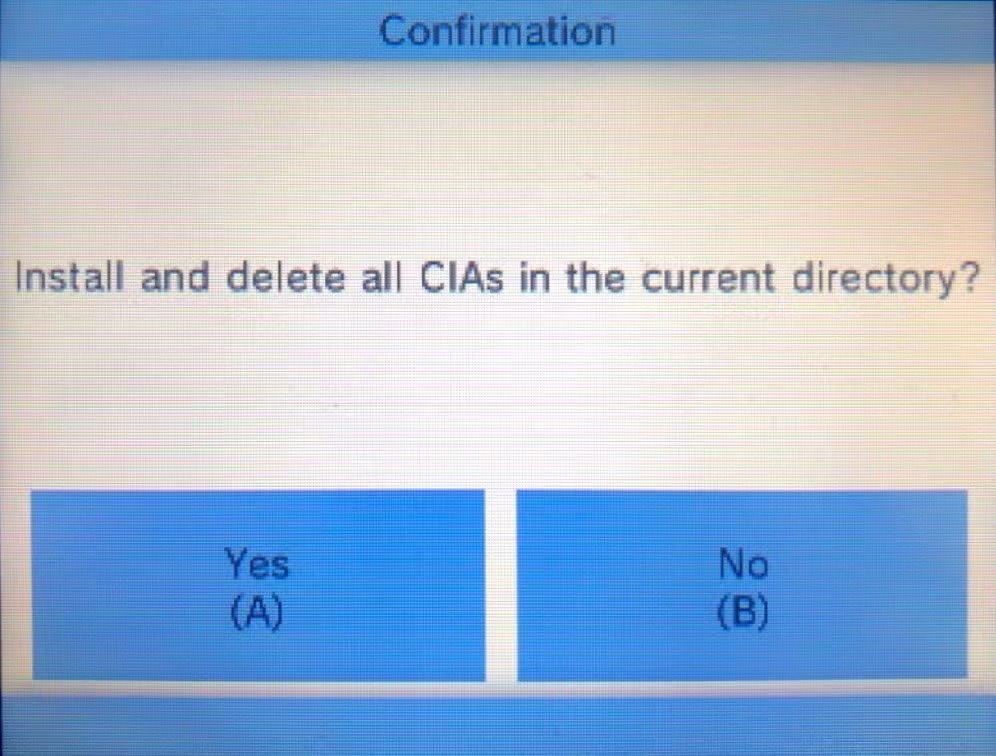
「FBI」を開きます。
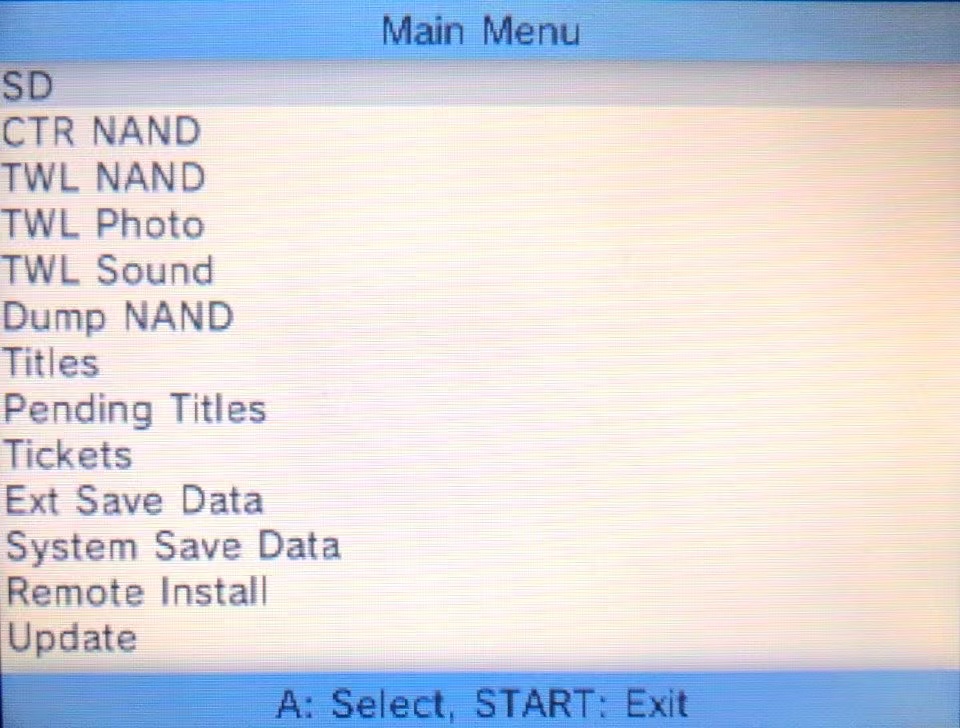
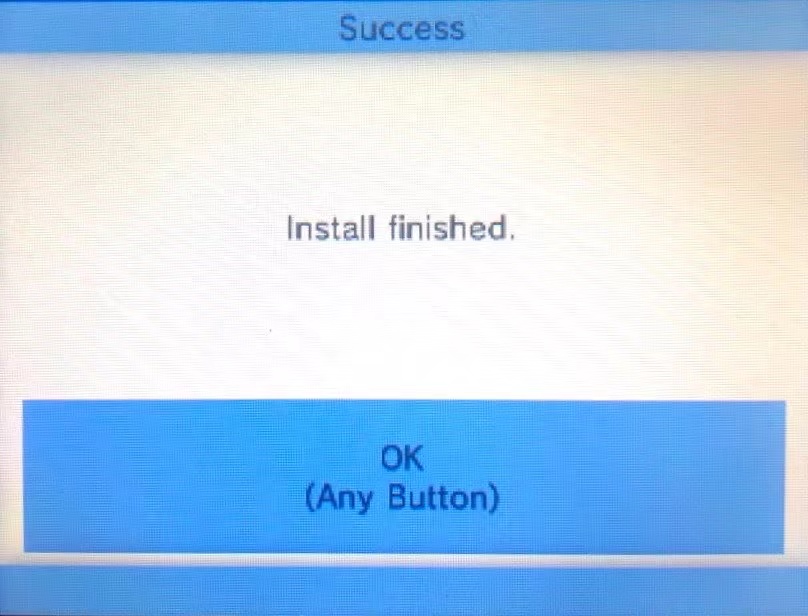
「SD」→「cias」→「<current directory>」→「Install and delete all CIAs」その後は何回かAボタンを何回か押してインストールが終わったらホームボタンを押します。

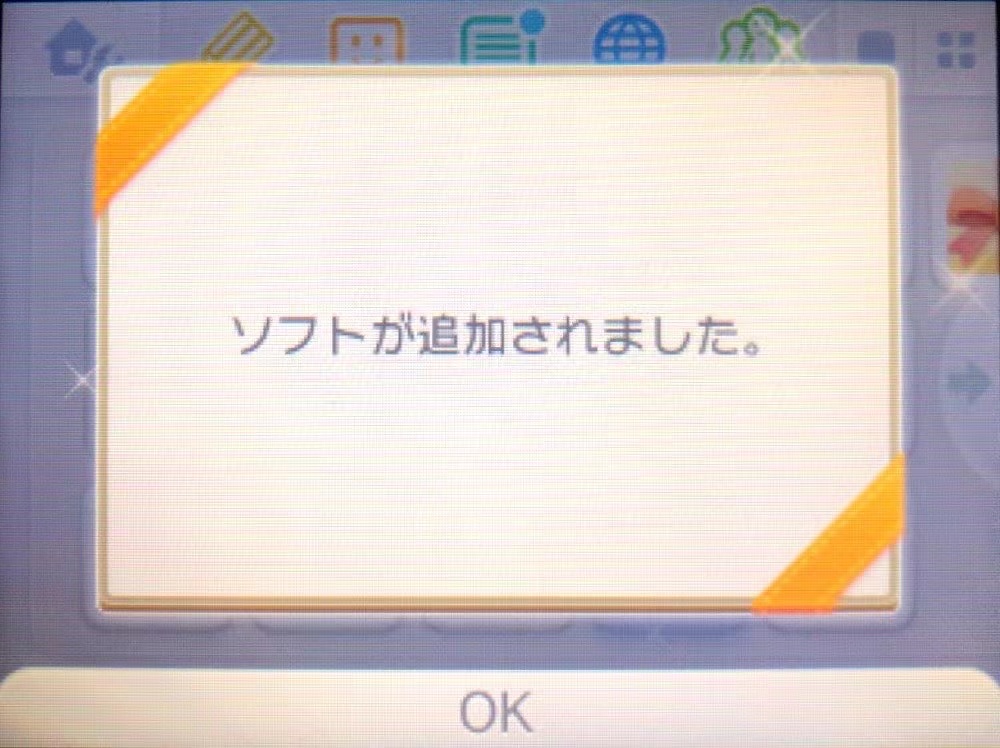
ソフトが追加されたことを確認したら、ダウンロードサービスを終了させます。
ホーム画面に戻ったら、3DSの電源を切ります。
CTRNANDにLuma3DSを導入
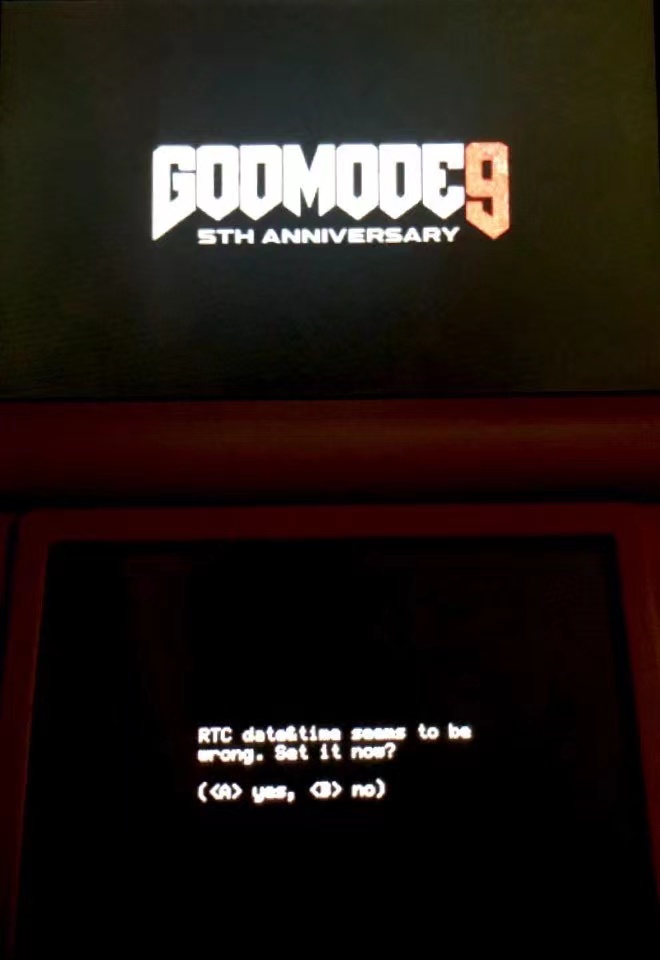
STARTボタンを押しながら3DSの電源を入れます。GODMODE9が起動してきます。「RTC date&timeうんちゃら」と表示が出たらAボタンを押して日付設定して進みます。
GodModeが起動しない場合
SDカードの「luma」→「payloads」フォルダ内に「GodMode9.firm」があるか確認する。
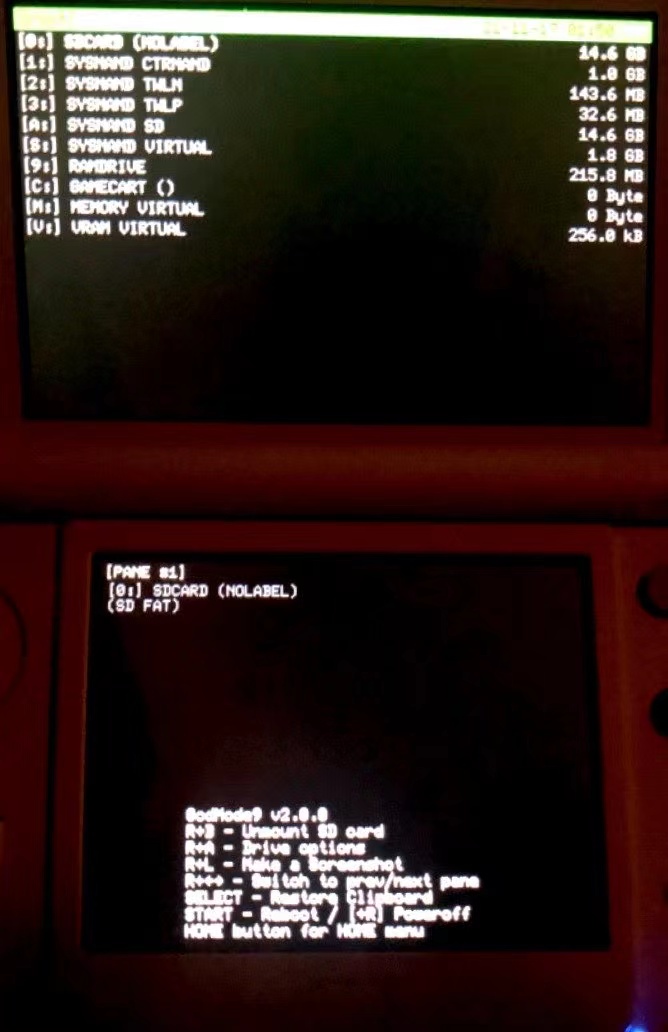
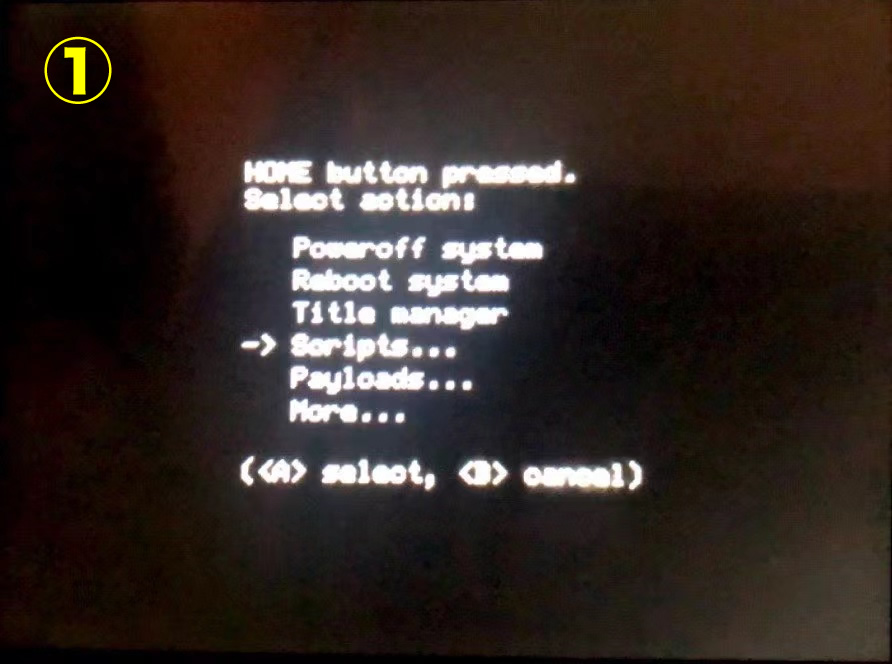
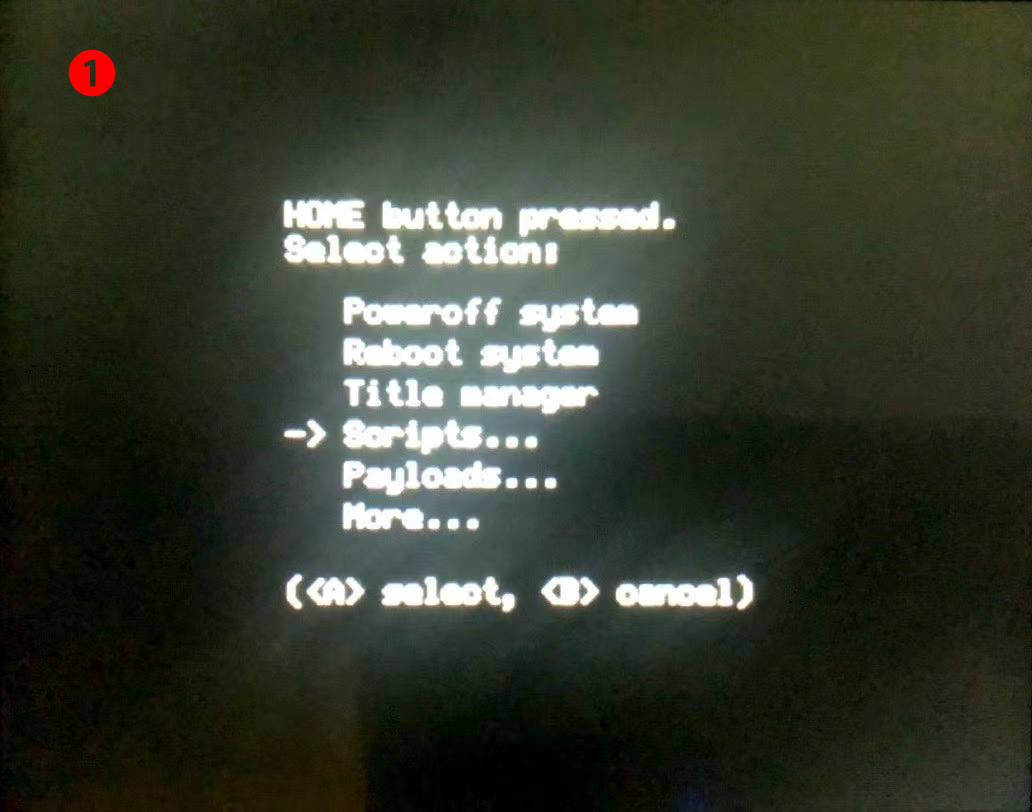
以下のような画面まで来たら、ホームボタンを押すとメニューを表示させることが出来るので
- 「Scripts…」を選択してAボタン
Scripts directory not found.と表示されたら
ここの③の作業が漏れてるので、やり直す。(マーカー部分)
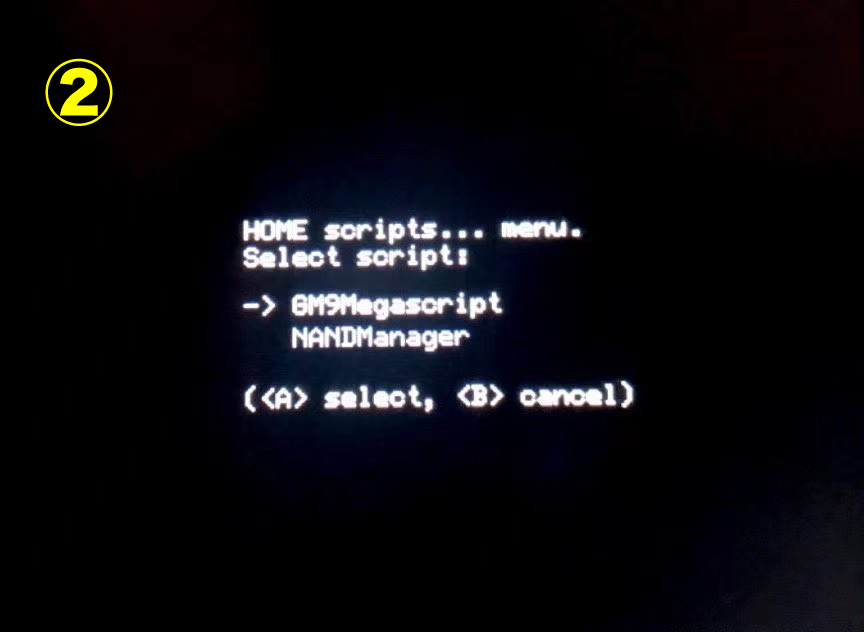
- 「GM9Megascript」を選択してAボタン
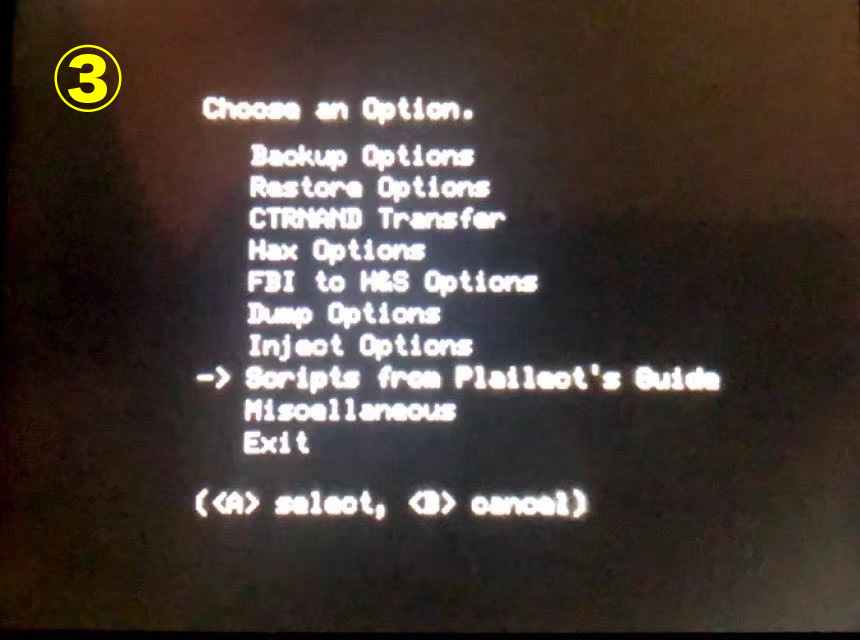
- 「Scripts from Plailect’s Guide」を選択してAボタン
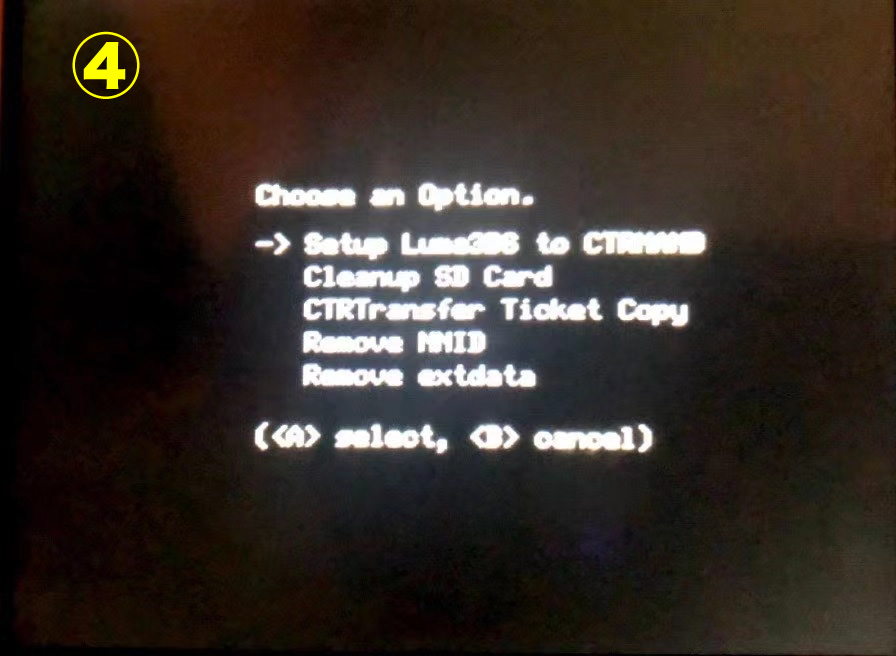
- 「Setup Luma3DS to CTRNAND」してAボタン
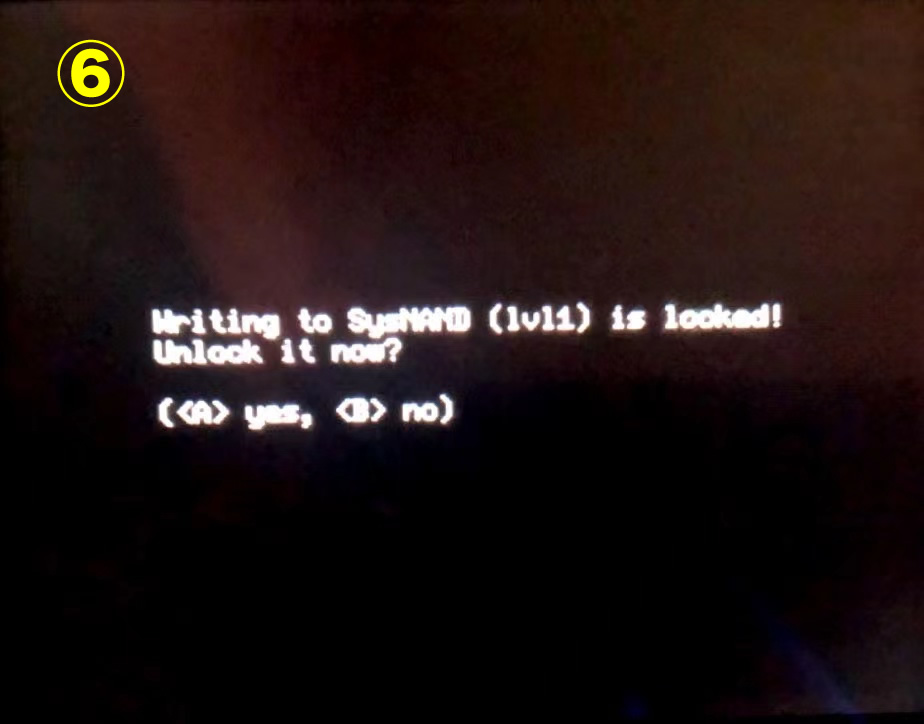
- 確認画面が出たらAボタン
- もう一度Aボタン
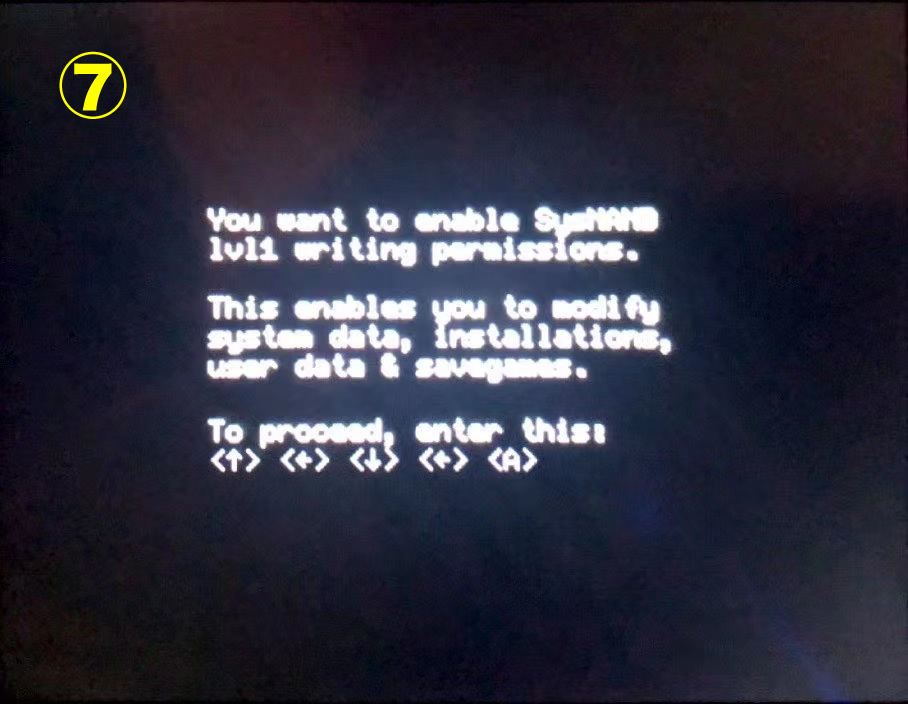
- キーコンボといわれる ↑ ← ↓ ← A を表示された順に3DSで入力する
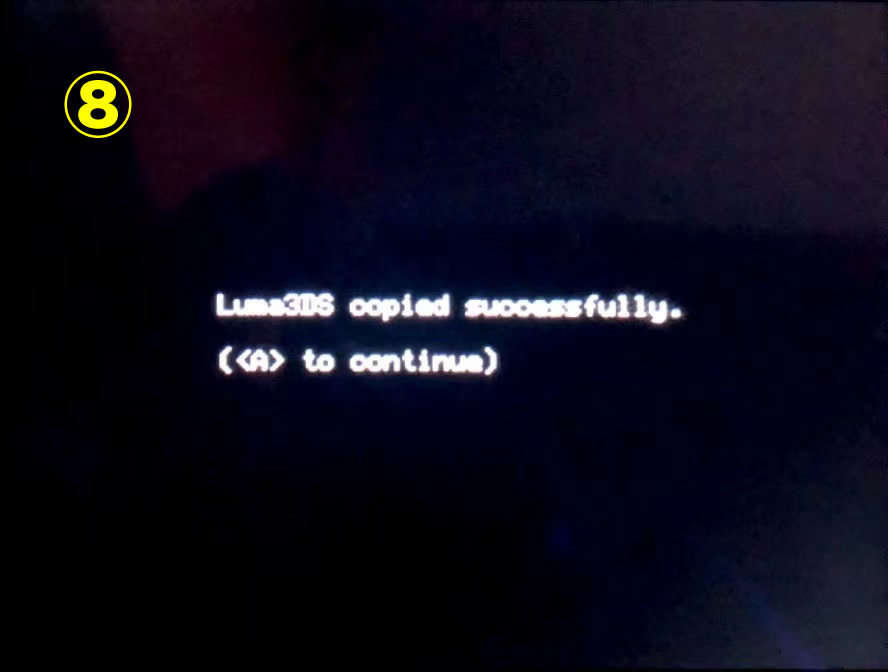
※表示されているキーコンボに合わせて入力してください。解説と異なることがあります。 - 「successfully.」などと表示されたらAボタン
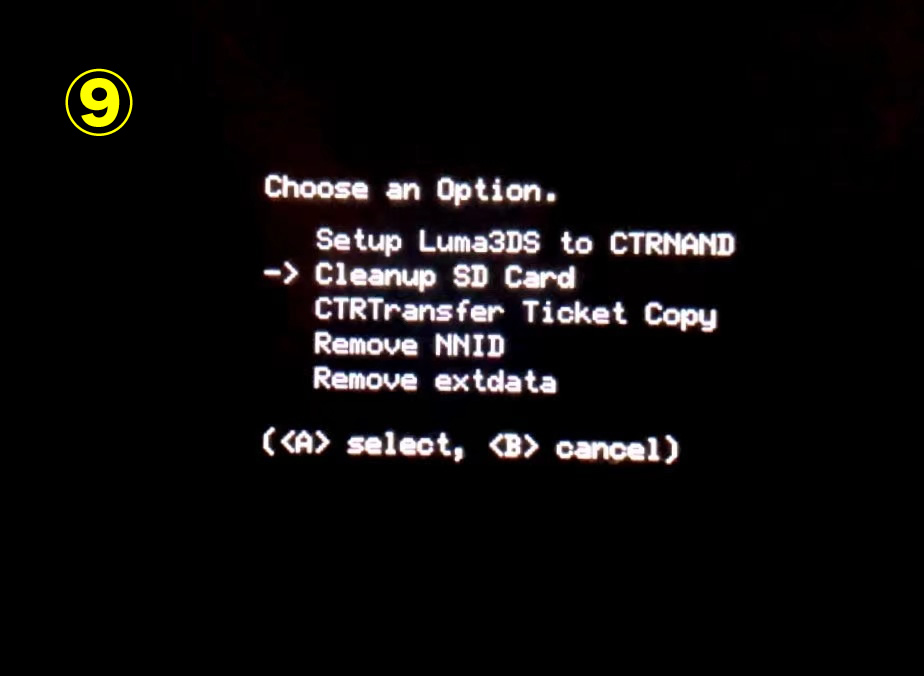
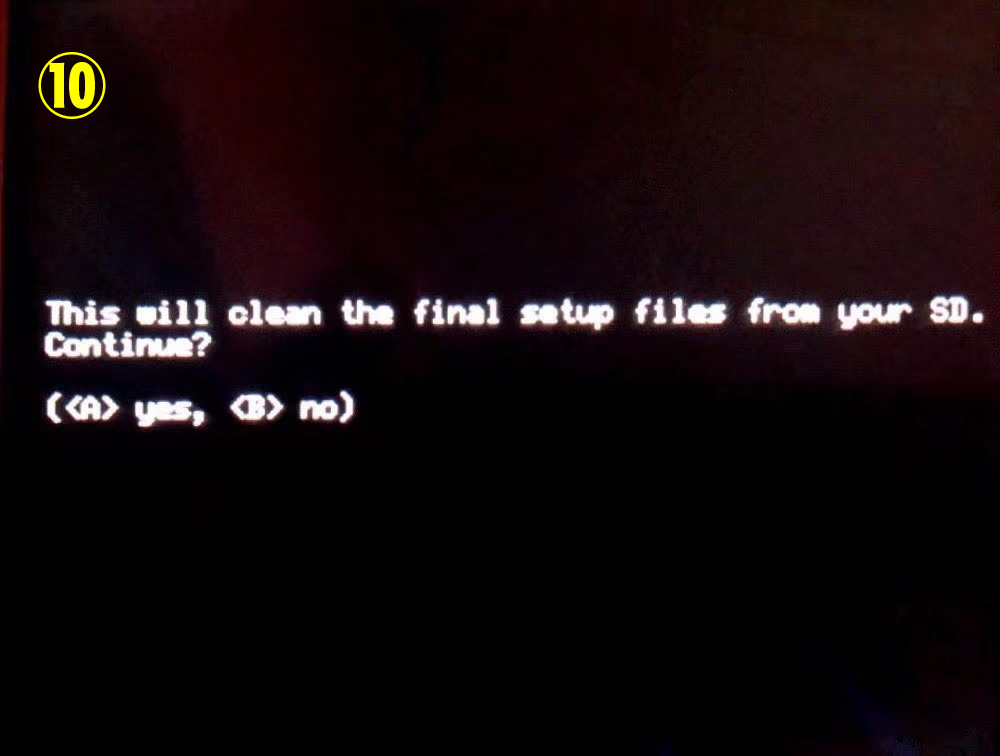
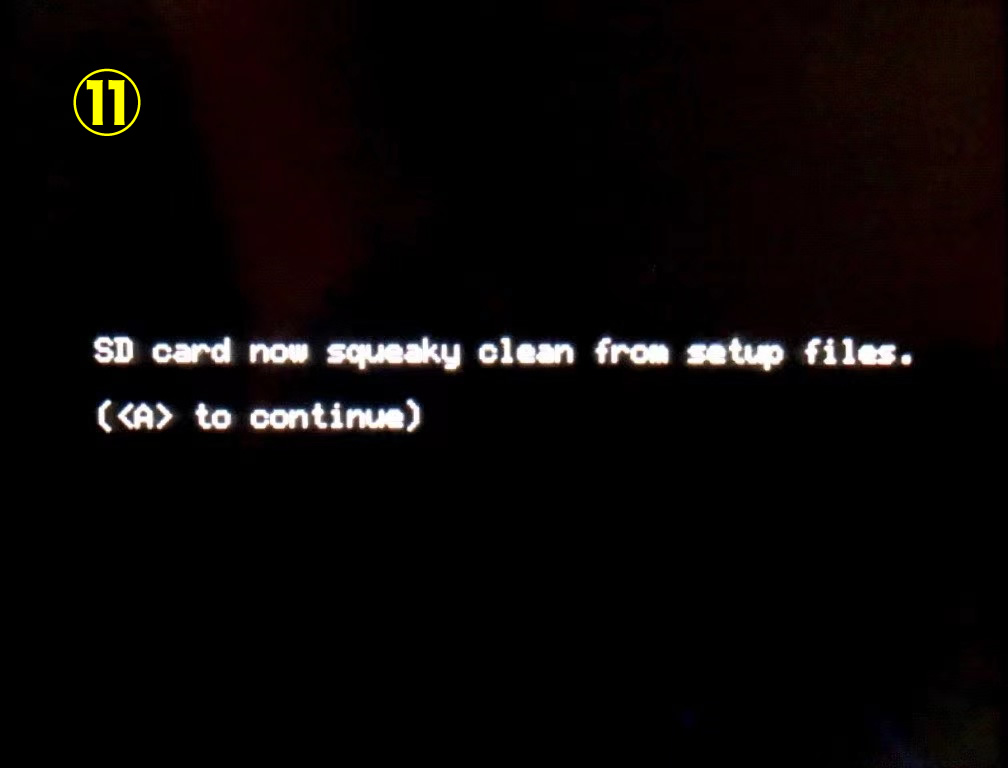
- 「Cleanup SD Card」を選択してAボタン
- 完了メッセージが表示されたらAボタン
- もう一回Aボタン
- Bボタン連打で戻れる画面まで戻る。

 もぐたんJr.
これでCFWの導入が完了。でも、このままSysnandのバックアップまでやるといいですよ
バックアップ
- ホームボタンを押してメニューを開き、「Scripts…」を選択してAボタン
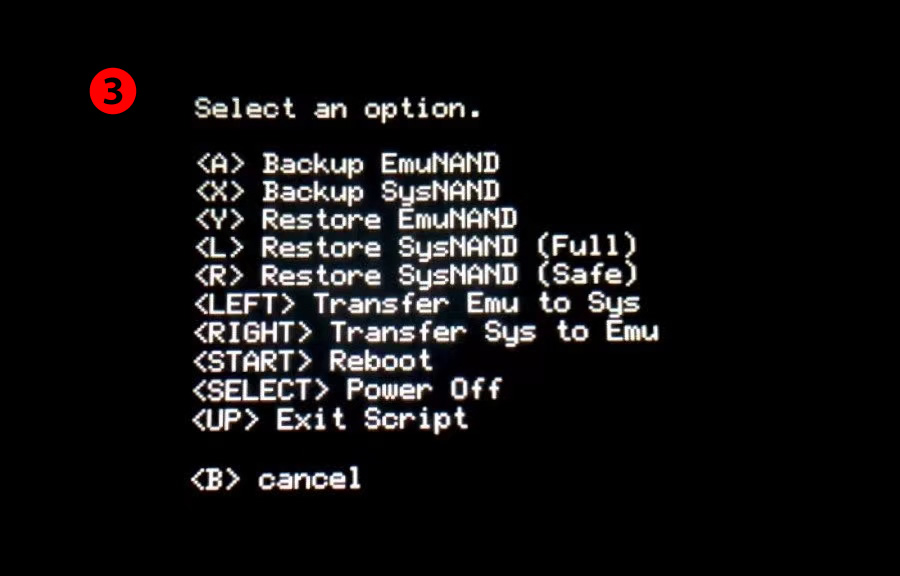
- 「NANDManager」を選択してAボタン
- ここは Xボタン 「<X> Backup SysNAND」
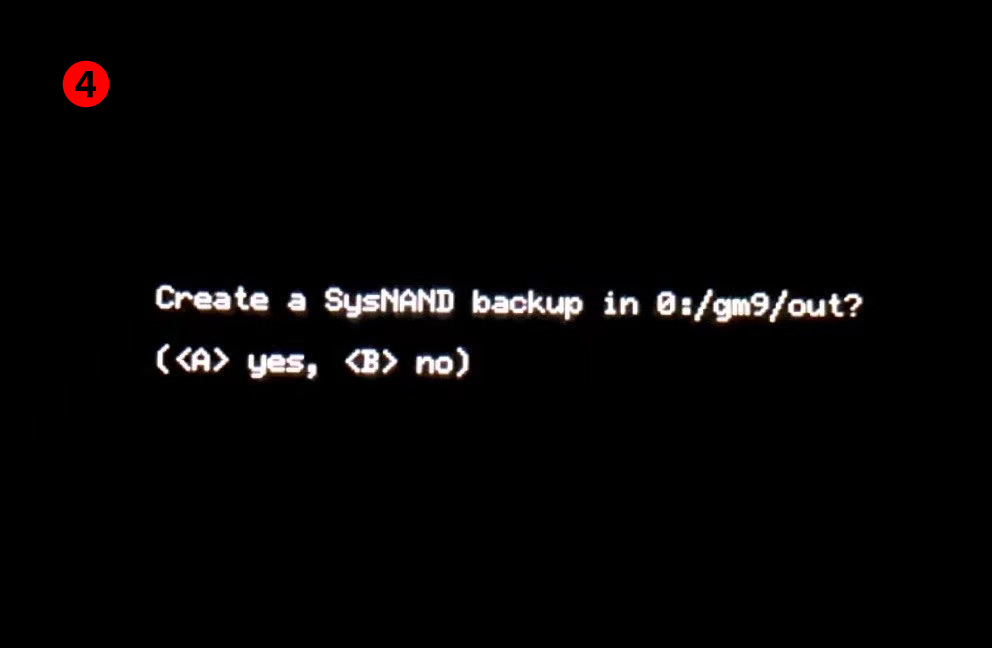
- 確認画面が出るので、Aボタン
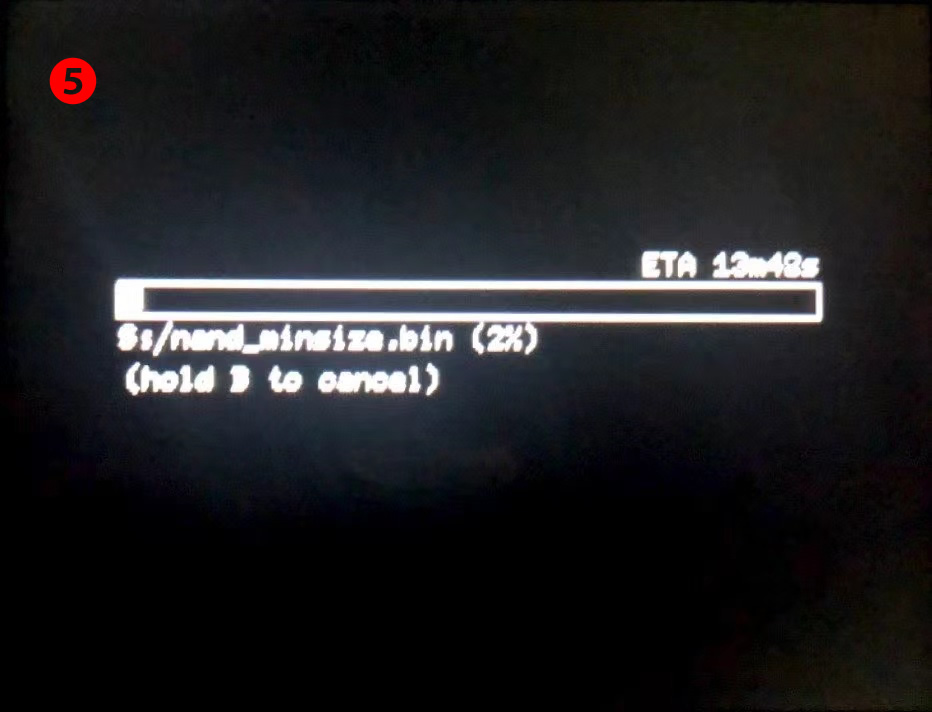
- SysNANDのバックアップが開始されます。20分前後待ちます。
- バックアップが完了したら、Aボタンで進み、Bボタン連打でメニューまで戻る
- STARTボタンで再起動、またはSELECTボタンで電源を切ります。

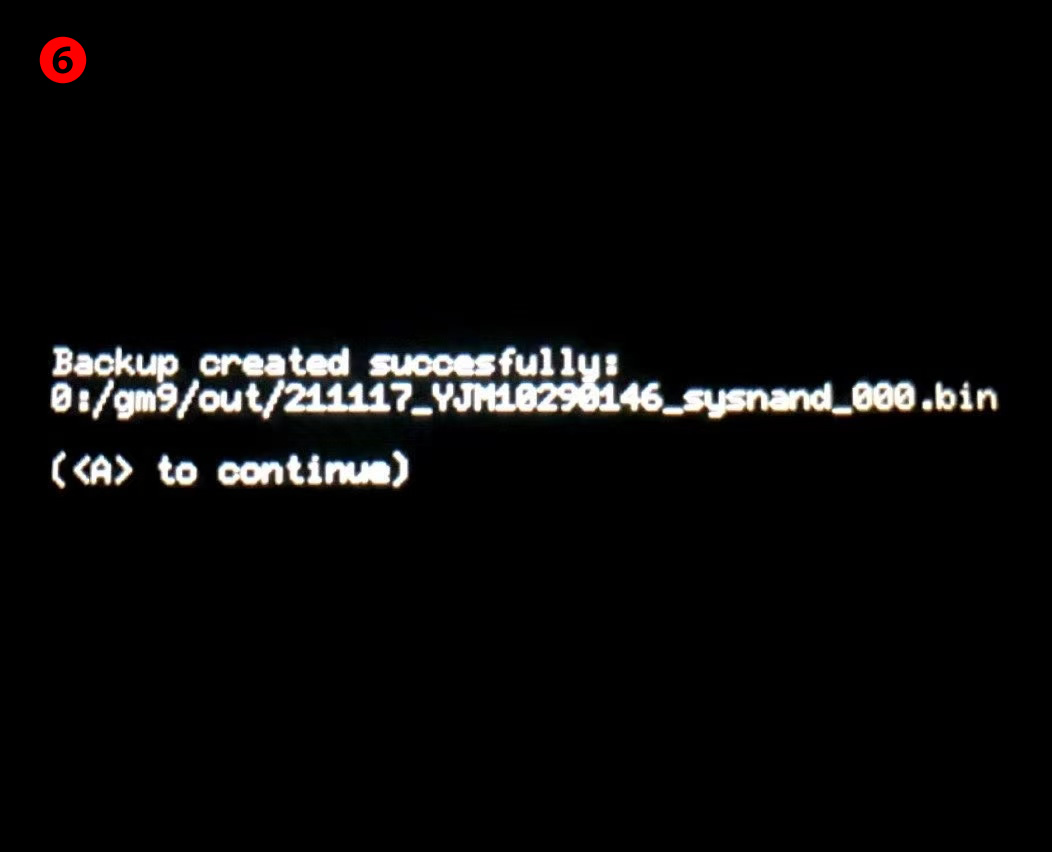
SDカードの 「gm9」→「out」フォルダにSysNANDのバックアップがあるのでパソコンに移動させて大切に保管しましょう。

コメント
コメント一覧 (2件)
記事掲載ありがとうございます。
11.17.0-50JでCFWを導入できるのはNew3DS/New2DSのみとのことですが、
New3DS LL(XL)では導入出来ないということでしょうか。
New3DSならLLでも導入できますよ。